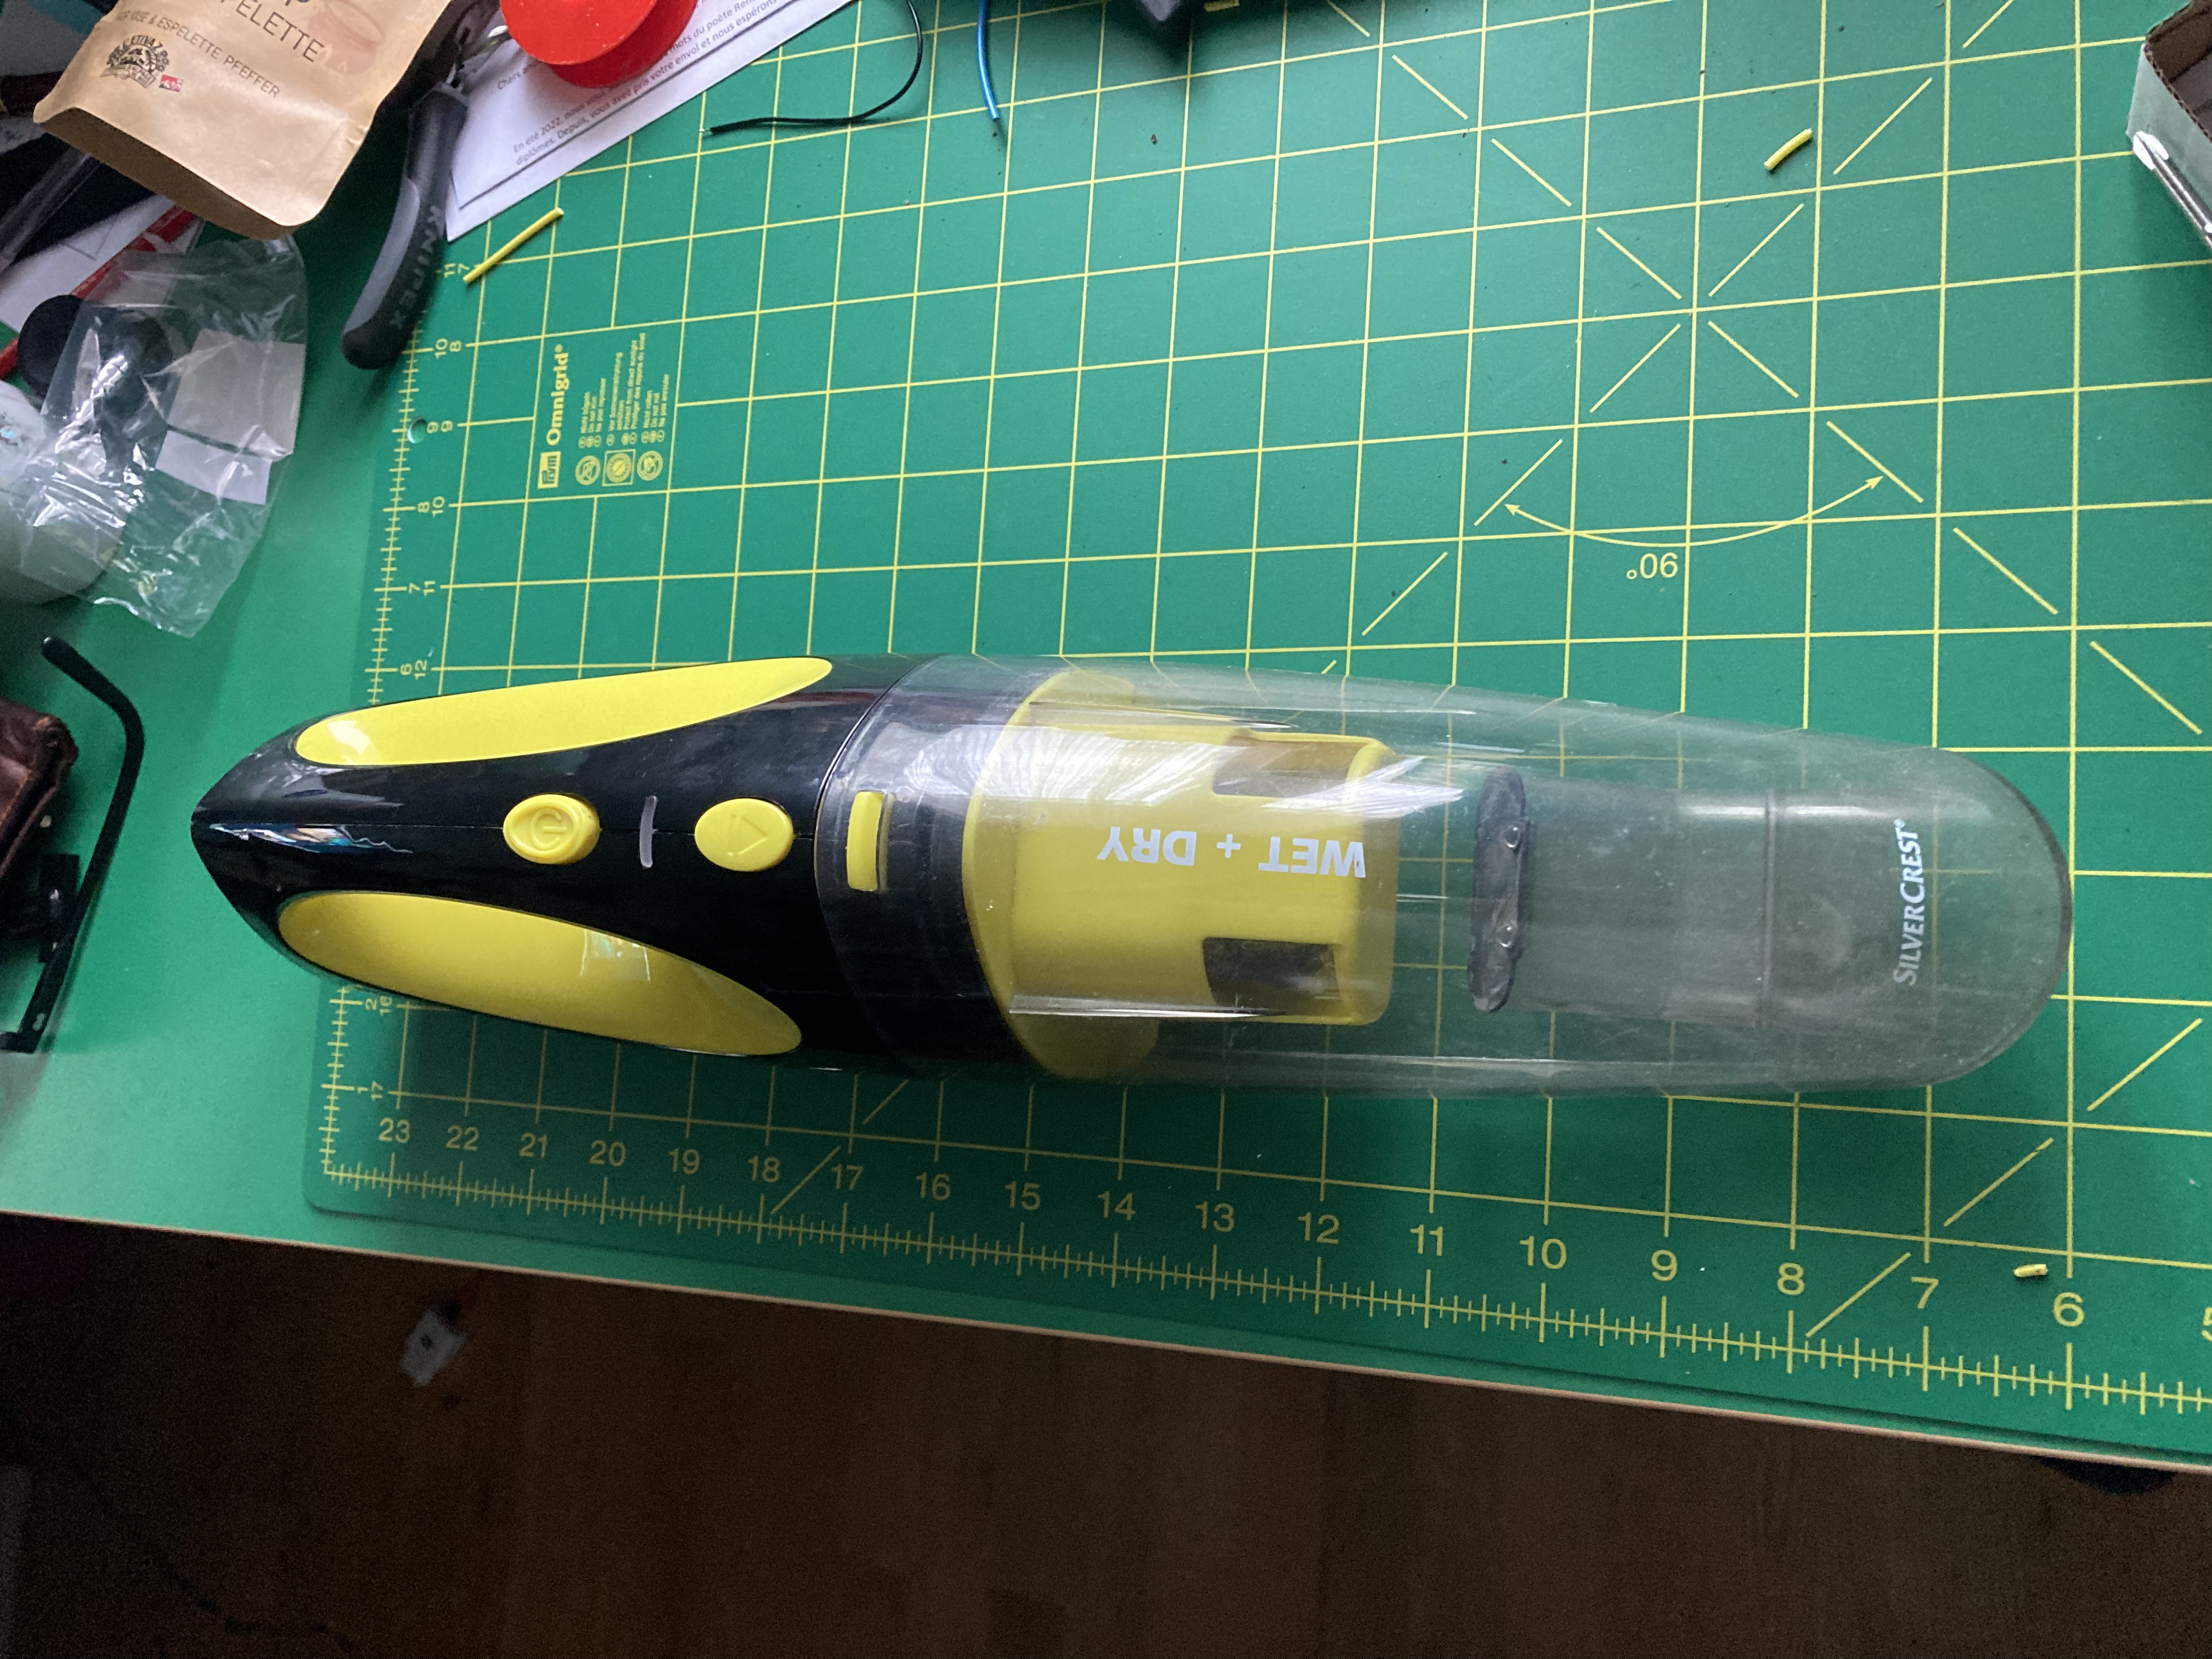
logo

Silvercrest SAS 7.4 LI C1

Published 25.10.2024 by Tibor Truong

Object Silvercrest SAS 7.4 LI C1 portable vacuum cleaner
Failure dead battery, only works for 20 seconds before shutting off
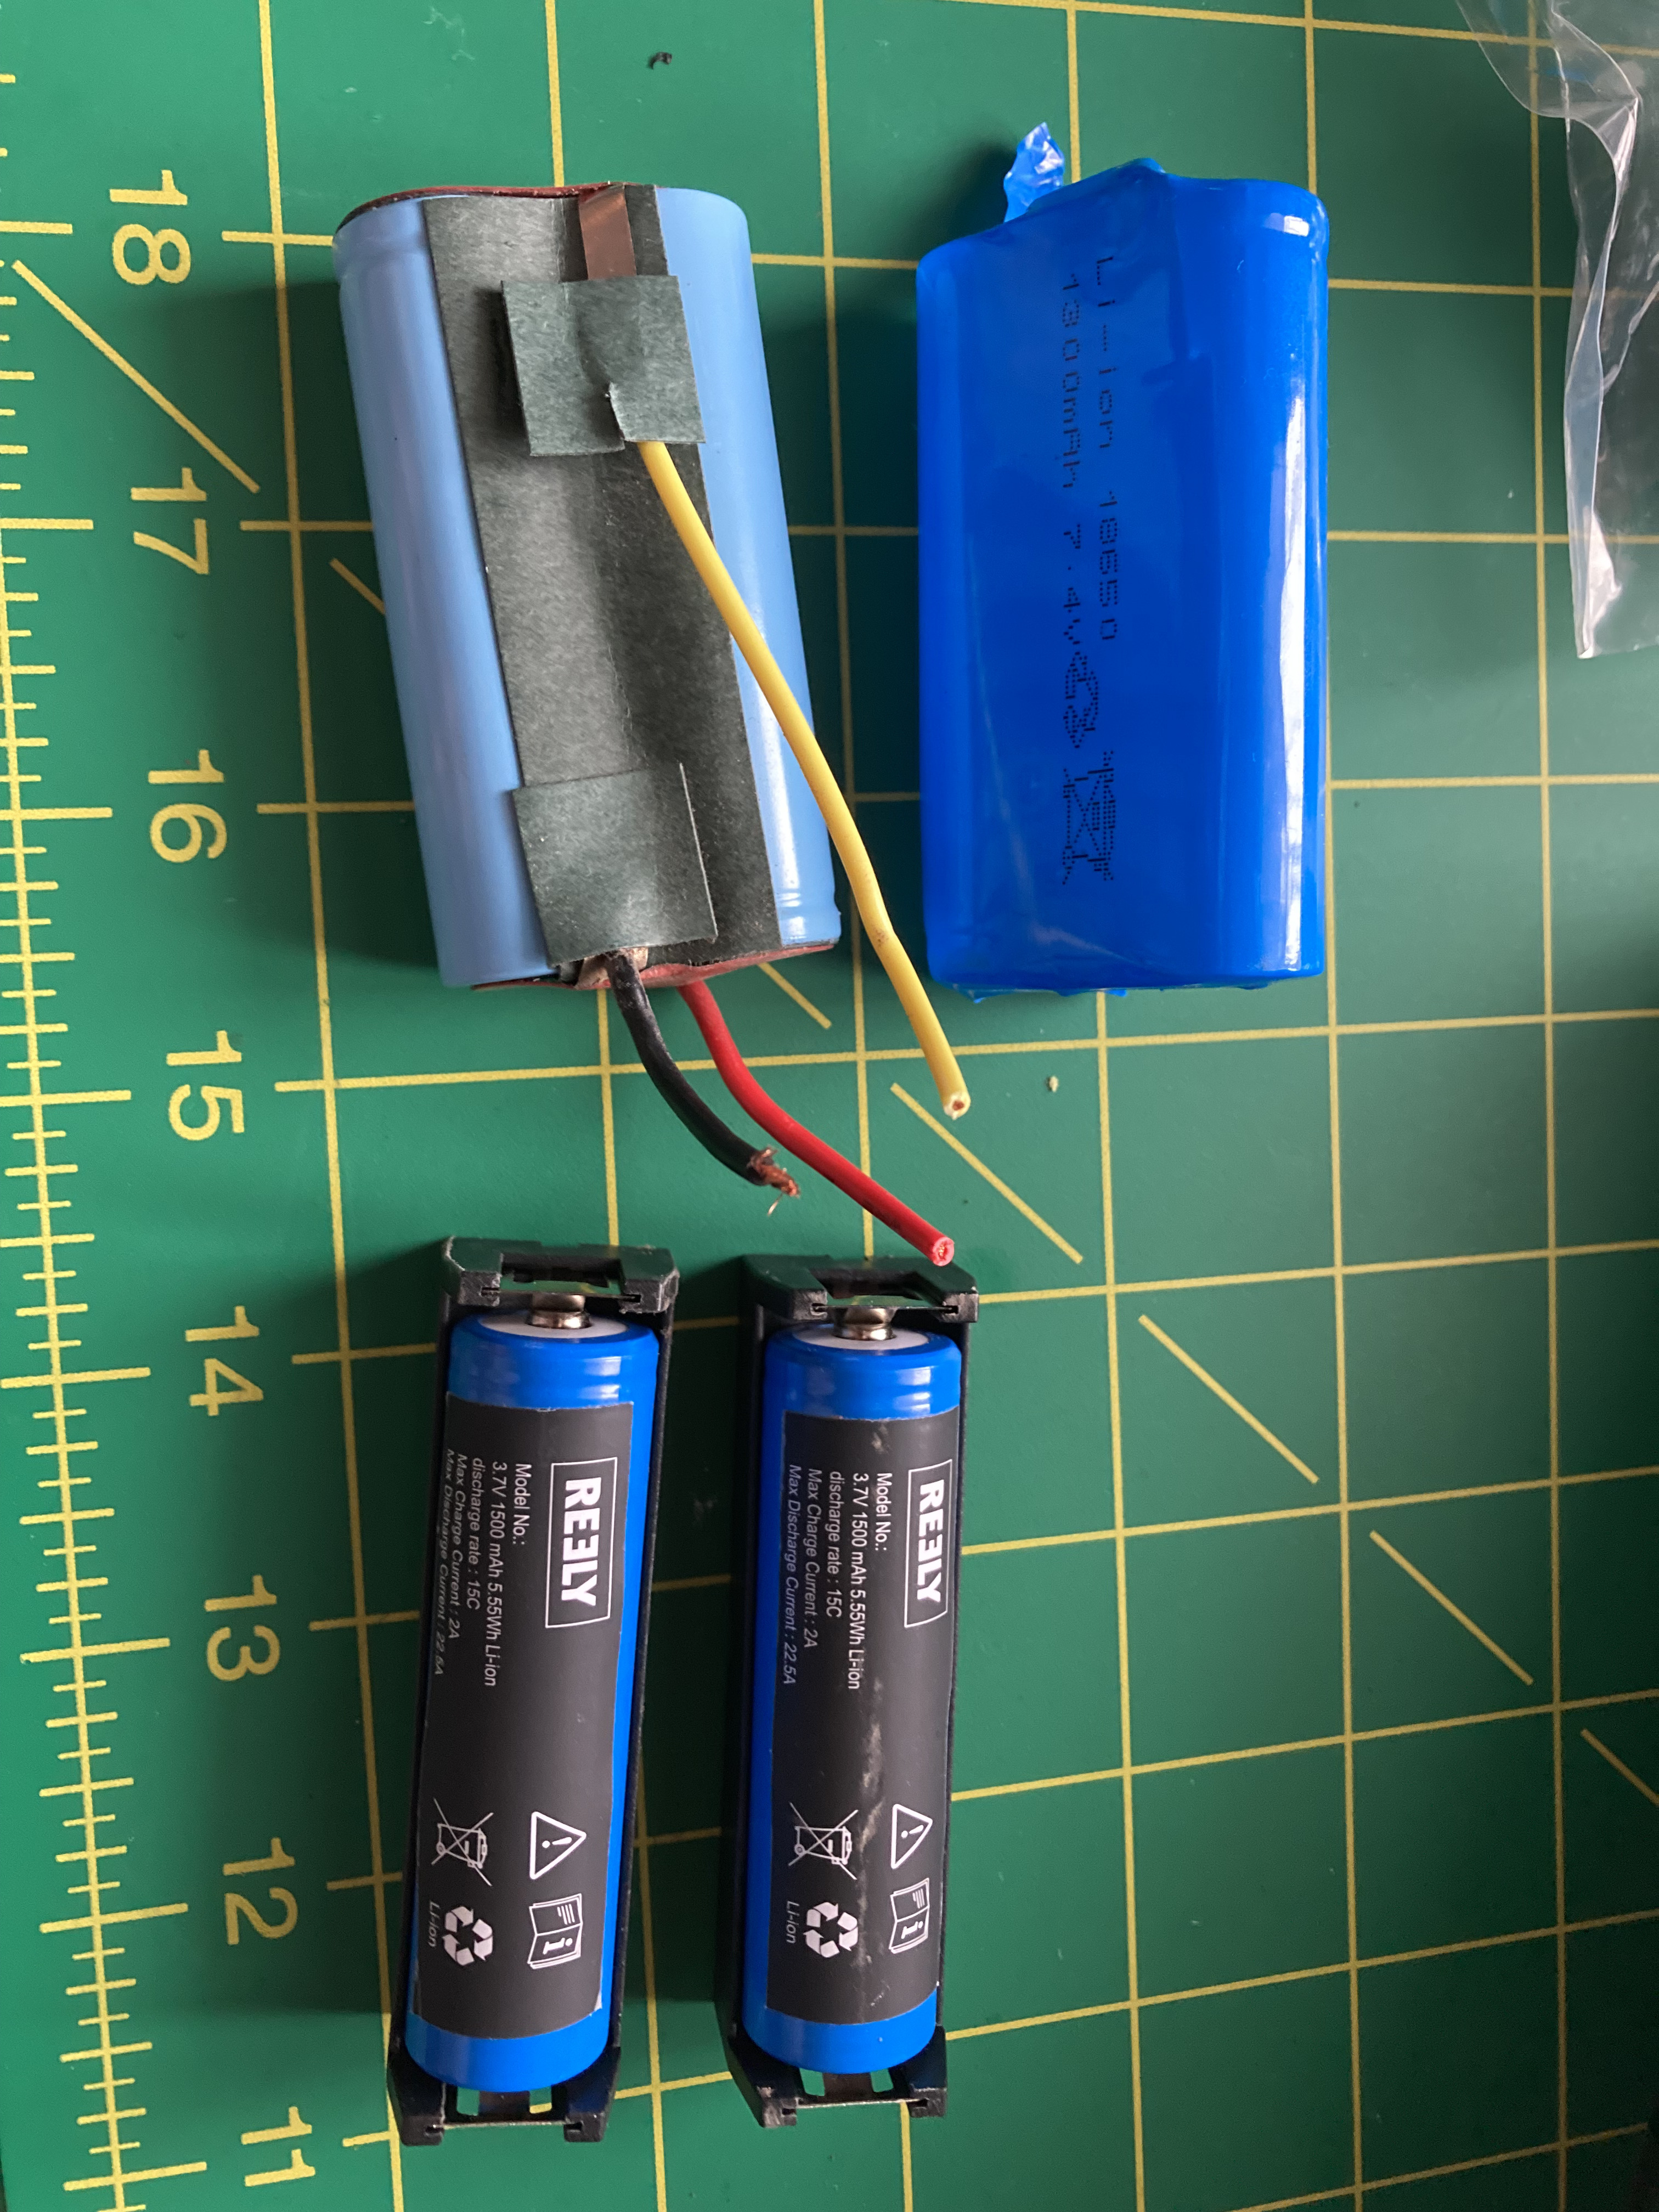
Repair type Change li-po battery cells
Repair time 1 hour
Repair cost 18 CHF + Shipping
Difficulty MEDIUM
Tools needed Cruciform screwdriver, soldering tools, cutting pliers
Repair service available? N/A
Rating 7/10
TC40-1

Problem, what happened?

Bought a used portable vacuum cleaner and as soon as i started using it i noticed that the battery doesn't hold much charge anymore. Charging circuit was indicating that the battery was charged but when i turned the vacuum on it only lasted for 20 seconds before shutting off which made it useless.

How to fix it, solution

Change the battery consisting of two standard 18650 3.7V 1300mAh Li-Ion elements. The two elements are wired in séries with three wires coming out: 0V, 3.7V (inbetween the two elements) and 7.4V.

I decided to order two battery holders to avoid soldering (which does no good to the lithium cells, normaly they are spot welded) and also to be able to change the cells again if needed in the future.

When choosing the cells, make sure to buy good quality ones from known brands. Chinese stuff doesn't last very well over time. It's important to choose cells that are of the same type (18650). They don't need to have exactly the same capacity as the original ones (650 mAh).

I opted for 1500mAh cells which should work without any problems. For Li-Ion cells you can without any problems replace them with higher capacity ones as long as the voltage stays the same. Charging circuits start and cut the charge based on the cell voltage in most cases so it shouldn't be a problem.

In my case the repair did increase the capacity from 1300mAh to 3000mAh total which is a nice upgrade.

Repair procedure
  1. Detach dust container from motor block and unscrew all visible cruciform screws
  2. Carefully open motor block, identify battery wires and cut them as long as possible without shorting the battery. CAUTION! Li-Ion batteries need to be handled with care! Do not short them, damage them or put in contact with water! Fire hazard! Make sure to dispose them properly, do not throw them into regular trash!
  3. Assemble new battery pack. I did this by first soldering everything together and then arrange it in a compact way. I used small zipties to secure the two battery holders together. Make sure that the contacts aren't able to short themselves, else that could become dangerous. It is also a good idea to label everything properly in order to avoid polarity errors.
  4. With the help of cutting pliers, cut away 5mm of the end of the accessory tray on both sides in order to make room for the new battery pack (look at the pictures). By putting the battery at that new position, it'll be more accessible. Also there wasn't enough space at the old position for my new slightly larger battery pack.
  5. Wire up battery, isolate wires if necessary, quick test if everything runs ok.
  6. Close motor block, put back cruciform screws, charge the freshly repaired vacuum and enjoy it with the new battery.


Evaluation of the repair

I have been using the vacuum on a weekly basis for a month now and it works very well. I can't say anything about the longevity of this repair for now but time will tell and i'll keep this article updated. The bigger capacity makes a big difference and for now it seems to charge normally with the original charger. The repair might be a bit tricky because you have to assemble the new battery pack and make room for it inside the vacuum cleaner housing but once done it's a very elegant solution. I wouldn't recomend this repair for people who aren't very experienced in electronics, soldering and battery stuff.

Here are some images of the repair
BraunBueffel1
BraunBueffel2


BraunBueffel1
BraunBueffel2